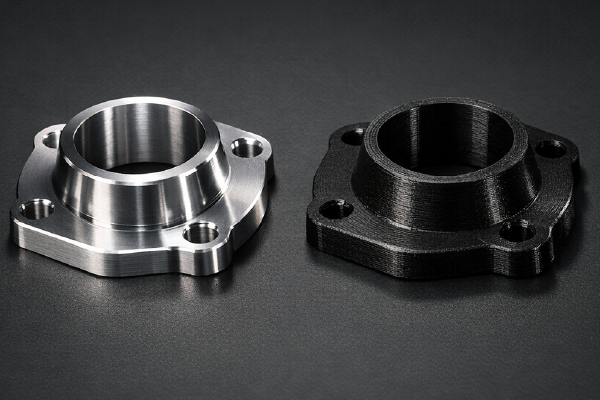
Introduction to 3D-Printed Enclosures
3D-printed enclosures provide significant benefits due to their high level of customizability. They can be designed to meet specific requirements, such as complex geometries, intricate patterns, or particular shapes and sizes. Another crucial benefit of this technology is rapid prototyping. Designers can create and test designs quickly, produce multiple iterations, and identify potential issues in the design early in the process, which reduces the overall time and cost in the product development cycle. Rapid prototyping also enables faster time-to-market for the final product.
Additionally, 3D-printed enclosures offer high accuracy and precision, critical for ensuring the final product’s high quality. With tolerances as small as a few microns, this technology can produce parts with unmatched accuracy and precision, ensuring that the final product meets all required specifications. Overall, 3D-printed enclosures offer an affordable, customizable, and precise solution for various applications.
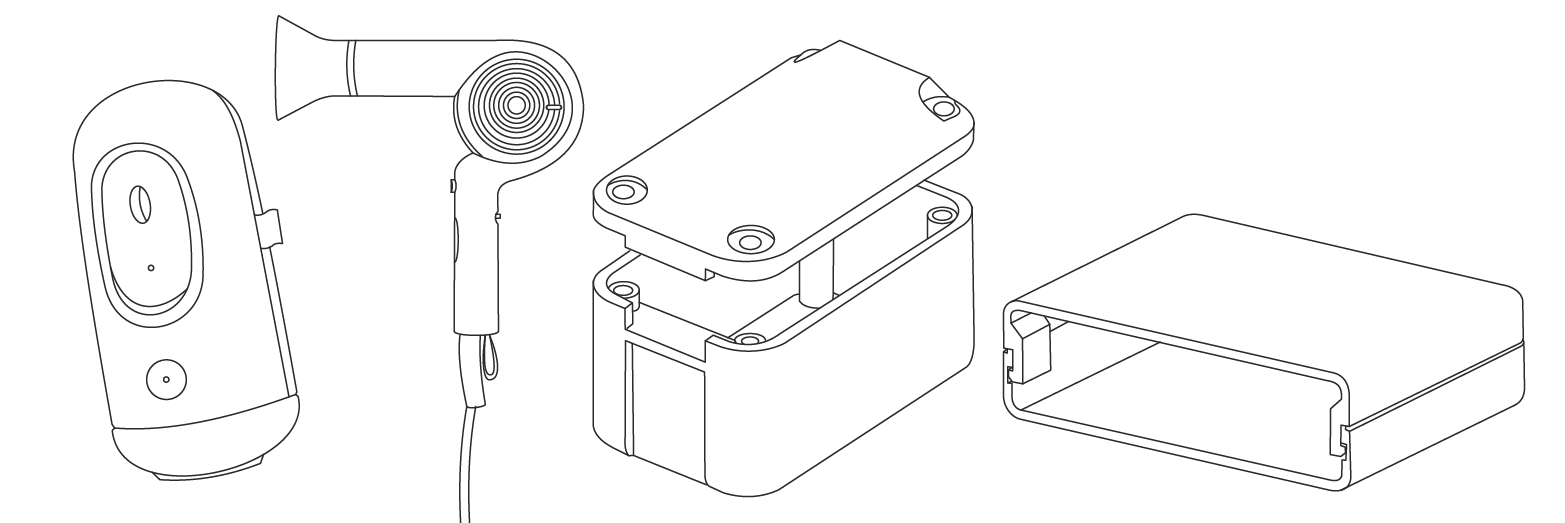
3D-Printed Enclosure Applications
Enclosures are frequently used to protect electrical components. They are also commonly found in automotive and consumer products, ranging from disposable clamshells for deli products to storage cases for earbuds. Enclosures make it easier to transport these products, and they can also house multiple components in a single space, thereby preventing customers from losing any parts.
Designing 3D-Printed Enclosures
When designing 3D-printed enclosures for industrial use, it is essential to consider the placement of components and follow recommendations to create a strong structure.
3D Printed Enclosure Bosses
When threaded fasteners are needed, include bosses around the holes to reduce bulging and distortion. For best design practices, ensure the diameter hole is also the thickness of the wall surrounding it. For example, for an 3/16th screw, you would need a 0.2 in (0.5 mm) width wall around the threaded hole.
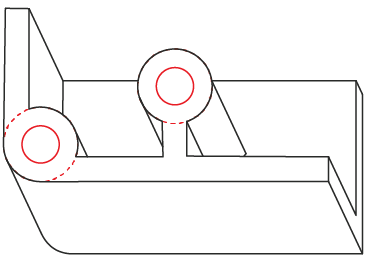
Internal Component Spacing
After considering the locations of the components, provide a 0.02 in (0.5 mm) clearance around the internal component. These clearances will account for technology tolerances, shrinkage, and distortion.
Connecting Parts of 3D Printed Enclsures
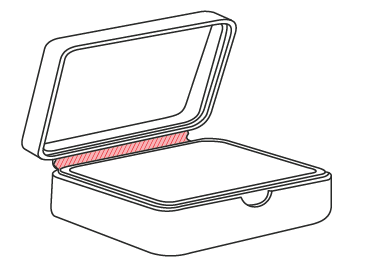
Living Hinges
Living hinges are flexible joints used in various applications to consolidate two parts of an enclosure. These hinges are made from the same material as the parts they connect and are designed to bend repeatedly without breaking. Using a living hinge can eliminate the need for additional hardware, such as nuts and bolts or rivets, which can reduce production costs. In addition to being cost-effective, living hinges are also lightweight and can be used to create a seamless, aesthetically pleasing design. They are commonly used in producing enclosures and casings for electronic devices, as well as in packaging and other industries. Overall, living hinges are a reliable and efficient way to connect two parts of an enclosure while maintaining a consistent and secure seal.
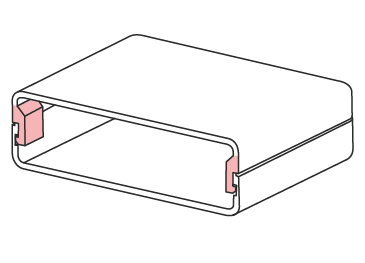
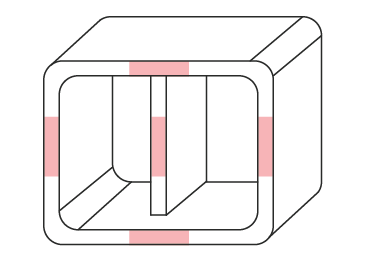
Snap-Fits
Snap-fit interlocking features are commonly used in various products, including enclosures, carabiners, clips, and other parts that require a connection. While designing snap-fits, it is essential to consider the arm’s thickness, the tapering from the root to the hook, and the filleting of the root to prevent snapping. The build direction of snap-fits is also crucial. The best practice is to build the snap-fit in the same direction as the image to the right.
Threaded Fasteners
Fasteners such as screws, bolts, and nuts are widely used in various enclosures to fasten two or more pieces together securely. They are an efficient and effective way to join parts as they offer solid and reliable connections. Screws, in particular, are a popular fastening option as they are easy to install and remove, making them ideal for frequent disassemblies and reassemblies. Additionally, screws come in different sizes, lengths, and materials, which makes them versatile and adaptable to a wide range of enclosure applications.
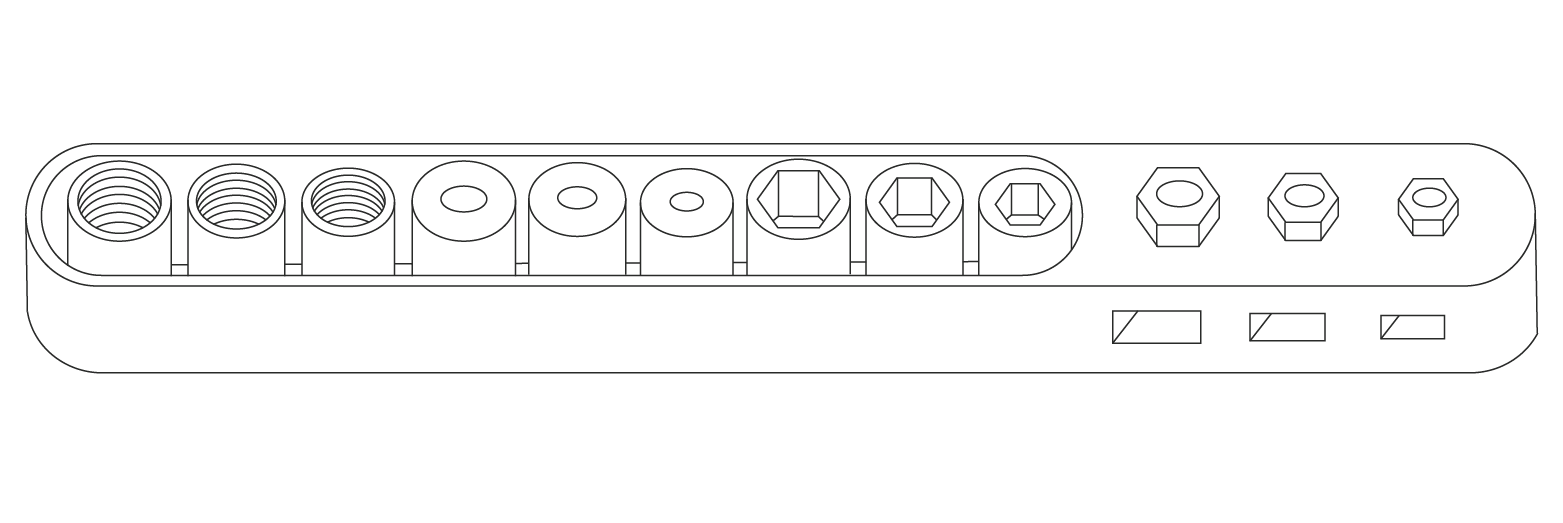
3D Printed Enclosure Holes
Drilling clearance holes after printing is recommended for the most accurate results. However, if you need to print the holes, it is essential to remember that you should add 0.0787 in (2 mm) to the diameter of the hole to ensure proper clearance. Clearance holes are intended to allow for the smooth insertion of screws or bolts without causing any damage to the printed object.
On the other hand, if you plan to create self-tapping holes, you should subtract 0.0787 in (2 mm) from the diameter. Self-tapping holes are designed to develop their threads as they are being inserted, which is why the diameter needs to be slightly smaller than the screw or bolt being used.
It is important to note that these adjustments are necessary to ensure that the holes fit the specific screws or bolts you are using, and it is recommended to test fit before final assembly. Additionally, using the correct drill bit size is crucial to avoid any damage to the printed object.

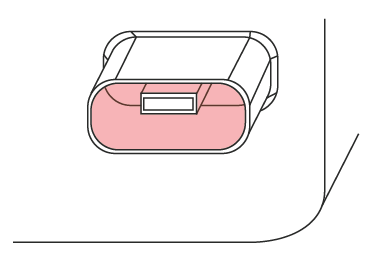
Port Clearance
Ensuring a 0.0787 in (2 mm) clearance around the ports is essential when assembling the components. This will prevent any potential damage to the ports during the assembly process. Once the build is complete, the input ports can be carefully super-glued into place. This will secure them in position and prevent any accidental movement or dislodgement. It is recommended to exercise caution while applying the glue to avoid any spillage or mess around the ports.
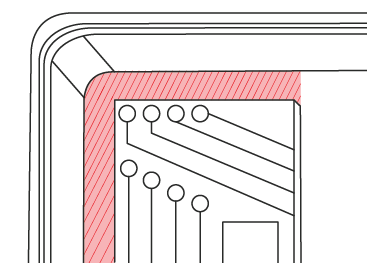
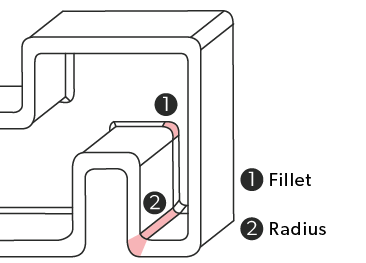
Radii and Fillets
It is essential to design enclosures that can withstand a variety of stresses. One way to reduce the stresses on an enclosure is by adding radii and fillets at the corners and edges. These rounded features help distribute the stresses evenly throughout the structure, preventing any point from bearing too much weight. This, in turn, can increase the overall strength and durability of the enclosure. Additionally, radii and fillets can improve the design’s aesthetics by softening sharp corners and creating a more uniform appearance.
Walls
To ensure a successful industrial 3D printing process, it is essential to maintain a minimum wall thickness of 0.0787 in (2 mm). Although wall uniformity is not a requirement for industrial 3D printing, it is highly recommended as it can enhance the structural integrity of the final product. If the part is intended for injection molding in the future, wall uniformity is an absolute must. This is because injection molding requires consistent wall thickness throughout the part to prevent defects and ensure the proper functioning of the finished product. Therefore, it is essential to keep in mind the end goal of the part before deciding on the wall uniformity during the 3D printing process.
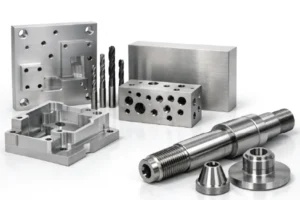
CNC Machined Enclosures
CNC machining is a manufacturing process that can create parts directly from a CAD file. It is a subtractive process that takes a solid block of metal or plastic and removes material to create a desired shape. One of the significant benefits of CNC machining is that it is highly repeatable. Once an enclosure is made, we can produce the same part thousands of times. CNC machining can also create complex, asymmetrical structures and smooth curves that may not be possible with other manufacturing methods. However, it is slower and more expensive than sheet metal forming and 3D printing.
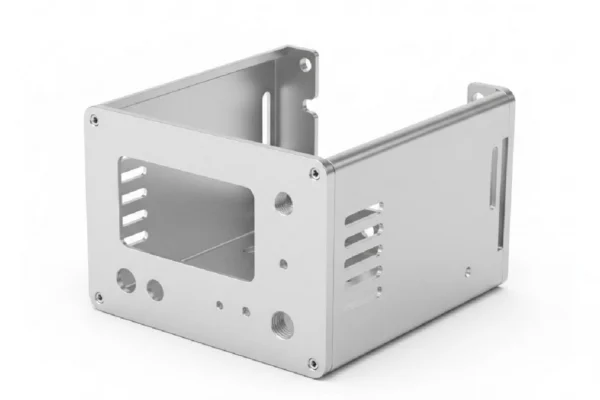
Sheet Metal Enclosures
Enclosures are commonly made using sheet metal forming. This process involves shaping sheet metal through mechanical or hydraulic means to create a desired form. Enclosures made through this method are known for being affordable, durable, and easy to produce. They are ideal for housing electronic equipment and machinery components. Materials like aluminum, stainless steel, and steel can be used to make enclosures. These materials offer unique advantages based on the application’s intended use and specific requirements. Sheet metal forming is a reliable and cost-effective solution that provides flexibility regarding material options and design possibilities.
Work With Prototek
Prototek is a comprehensive digital manufacturing service provider. Whether you have an enclosure project, we have a variety of solutions that can cater to your needs, including additive manufacturing, CNC machining, and sheet metal fabrication. We are also capable of scaling from prototyping and small production runs to larger production runs with the help of cast urethane and injection molding.
We would enjoy discussing your project to see if we’d be a good fit! You can contact us or get a quote!